Installing Jeep Cherokee XJ
| |
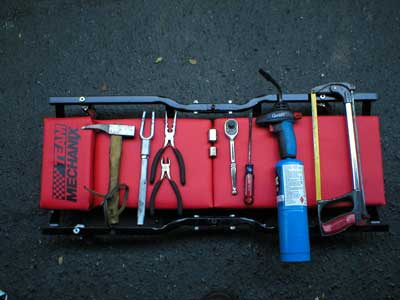
| Tools
needed: - 15mm & 19mm sockets and regular/long handle wrench - tie rod separator (for the frame-mounted ball-joint end) - big hammer - grease (loose & grease gun) - floor jack (the bigger the better) - breaker bar - medium-size replacement cotter pin (for frame mount end) - Propane torch or similar - Misc screwdrivers (for prying - you don't need them for tightening) | |
| - Dikes or other cutting tool - Torque wrench - Hacksaw - Needle nose pliers - Long, heavy zip tie |
|
| Note: Set the parking brake and chock the wheels, but no need to jack the Jeep | |
| Steps: | |
|
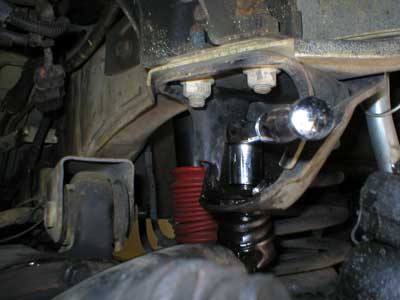
(1) Loosen the track bar | |
| (2) Separate
the track bar at the frame mount Using the tie-rod separator, you'll need to bang on it a LOT - it's a tight fit. Don't worry about destroying the grease seal, since it'll be replaced. Turning the wheels out to the left will give you more room to swing. 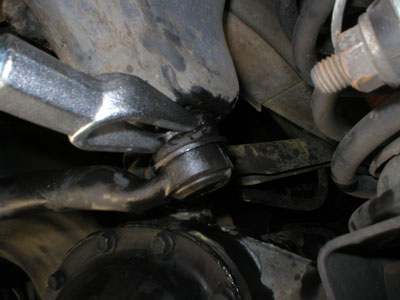 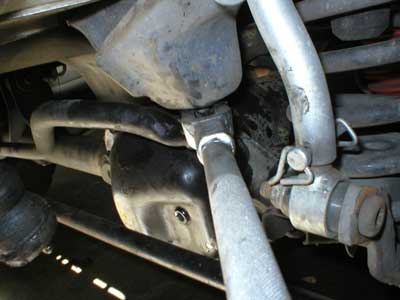 | |
|
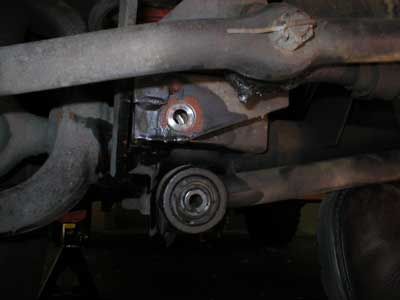
(3)
Remove the bolt holding the track bar at the axle | |
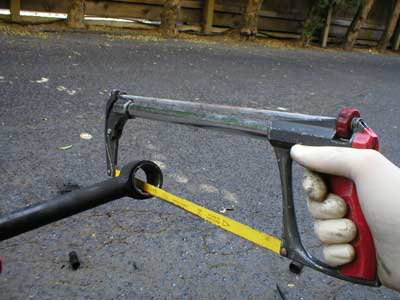
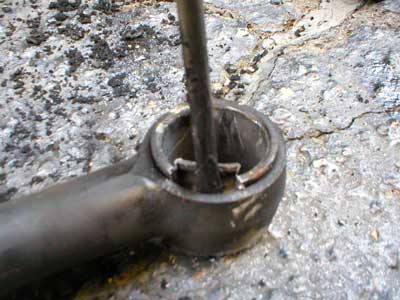
| (4) Remove
the frame end grease seal. You may have to use dikes to cut the seal open, then cut the metal strips holding the seal together. The factory seal may be slightly better than the urethane replacement, but at least you'll never have to replace the urethane, since it shouldn't ever wear out (rot). 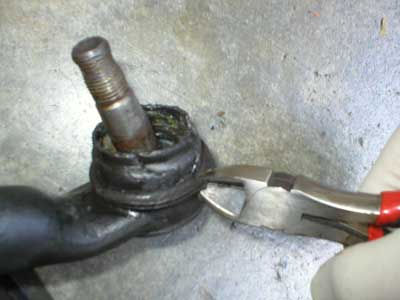 | |
| (5) Remove
the axle end bushing. The factory bushing is vulcanized in place, so use a propane torch and burn the old rubber out, scraping & poking with a long screwdriver. There are two metal inserts, and for each, heat the insert until the rubber catches, expands, and literally expels the sleeve. 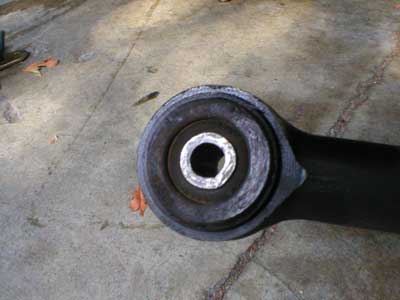 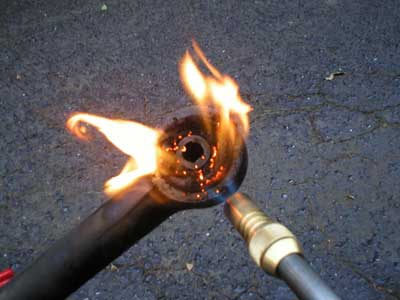 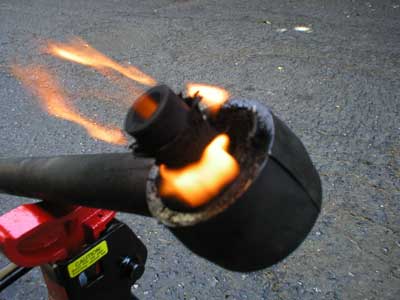 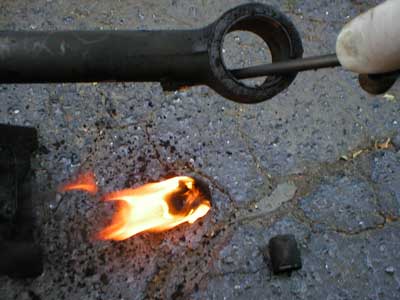 | |
|
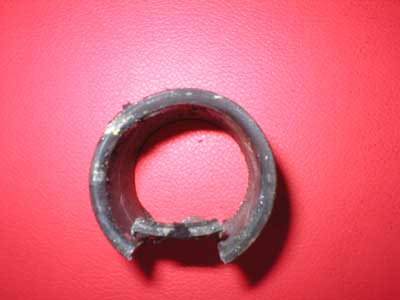
(6) Remove
the axle end press-fit insert. | |
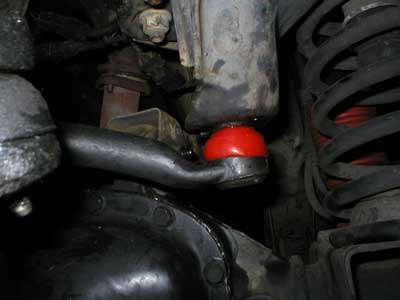
| (7) Install
urethane bushings. Clean everything up before doing this, and grease the axle mount end heavily. 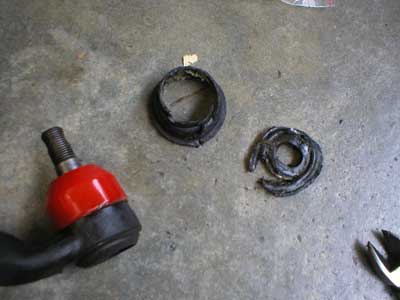 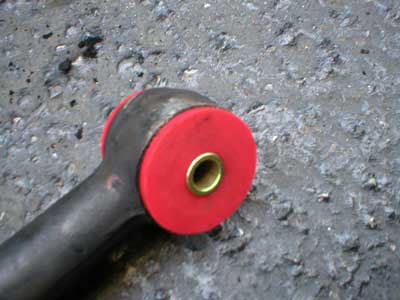 | |
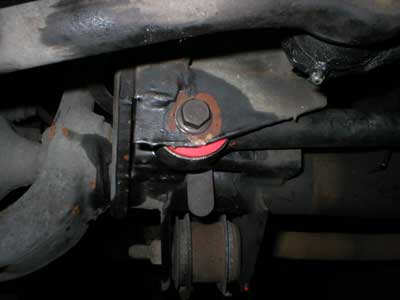
| (8) Install
track bar. If the frame mount bolt won't seat easily by hand, a big floor jack is handy to press it into place. The axle mount end might take a bit of prying and pounding, but it usually goes pretty smoothly. | |
| (9) Torque to
specs. Haynes says the axle mount end should be torqued to 74 ft-lbs, and the frame mount end to 62 ft-lbs. | |
| (10) Install
new cotter pin at frame mount.
All told, this
will take most of an afternoon. It won't necessarily make much of a difference in handling,
which is what you might have wanted the urethane bushings for. At
least now you' won't have to replace them later. And you'll have more nifty
red urethane bushings under your Jeep. | |